
Today's feature is from our companion service, The Tactical Wire.
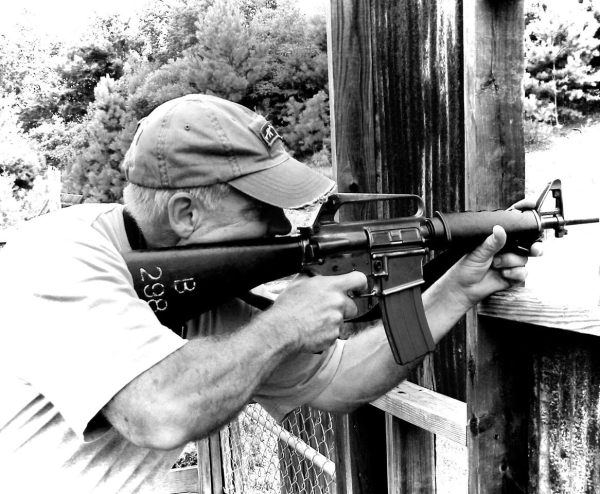
Students show up to class with their AR’s zeroed by various methods, especially for iron/back-up sights. This normally works fine at close distance – about fifteen to twenty yards - where we start class. Once we move back to “The Wall,” about sixty yards, the results are mixed. None of them are acceptable. Quite a few chest shots turn into high, over the shoulder misses. We know “most” defensive rifle use occurs at pistol distances. However, you have to be prepared for handful of “exceptions,” too.
The only way to get a “hard” zero is firing your rifle/ammo. For a one-hundred yard zero you’ll have to hit the target “from end zone to end zone.” There are various methods of reduced range zeroing. At X number of yards use the small aperture on the rear sight and aim two inches above the target. These rarely produce the desired results. For a “real” zero fire your AR and ammo at the relevant distances.
A few words of advice for new shooters. Ammo consistency is mandatory. Changing ammo shifts your point of impact on target. It consumes more ammo than necessary, and frustrates your spotter. Start close. Twenty to twenty-five yards is good. Aim dead center of your target and fire a good three or four round group from a solid position. Don’t worry about where the hits go. Concentrate on the fundamentals of marksmanship. Once you have a tight group, you move those hits to target by adjusting the sights.
During zeroing the rear sight should be on its lowest setting, such as 3/8. “3” is initial zero, using the large aperture. Flipping from the large to small aperture compensates for distance beyond 300, and will shift the bullet’s point of impact. Elevation adjustments are done with the front sight; a sight adjustment tool with prongs works much better than a round of ammo. Windage adjustments are accomplished with the rear sight.
At close distance you’re looking for a good group about two to two- and one-half inches above center of target. This compensates for the offset between the sights and the bore of the barrel -- something you must learn to do with the AR at closer distances. Next, move back to fifty or sixty yards and repeat. Hits should be a little low of target center, about an inch or so. I’ll do iron sights first, then switch on the dot for zeroing. Now it’s time to move back to your final zero distance.
It’s time to consider your final distance for zero. I still use a one-hundred yard zero. At Thunder Ranch, Texas, Clint Smith advocated a seventy-five yard zero. This works well, and provides the least deviation between point-of-aim and point-of-impact. At twenty-five yards, the hits place about an inch and one-half below point of aim. From one hundred, the hits are high by the same amount. Plus, you’re pretty good at two-hundred. (All this depends on AR, barrel length/twist, ammo and of course, the shooter.). Keep in mind, regardless of final zero you’ll need to compensate for barrel offset at twenty-five and closer.
After establishing and confirming zero, it’s time to fire at various distances to get hard dope on P.O.A. vs. P.O.I. Again, the only way to get this data is by spending time behind the trigger of your AR. You don’t get to dictate the fight; a “longer” distance shot may be required to stop the threat. A zeroed rifle and time with the fundamentals will help ensure you’re prepared.
Tiger McKee is director of Shootrite Firearms Academy. He is the author of The Book of Two Guns, AR-15 Skills and Drills, has a regular column in American Handgunner and makes some cool knives and custom revolvers. Visit Shootrite’s Facebook page for other details.